Introduction
Juicing has surged in popularity as a nutritious way to incorporate more fruits and vegetables into our diets. It offers a convenient method for consuming essential nutrients quickly. Many wonder if their blender can double as a juicer. Is it efficient? Does it preserve nutritional benefits? This comprehensive guide aims to answer these questions, covering the essentials to help you make an informed decision about using a blender as a juicer.

Understanding Blenders and Juicers
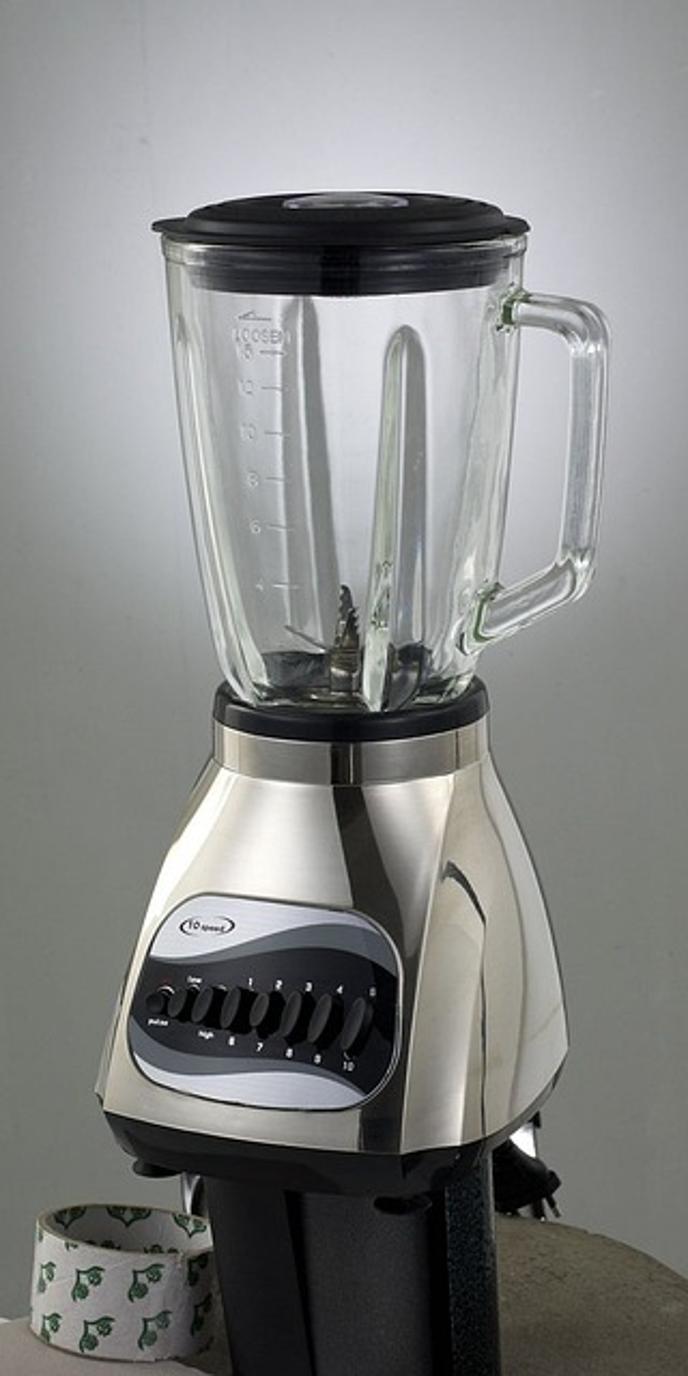
Blenders and juicers both process fruits and vegetables but achieve their goals in fundamentally different ways. Blenders chop and blend whole foods, incorporating all the pulp and fiber into the mix, making smoothies thick and filling due to the dietary fiber.
In contrast, juicers extract the juice by separating the liquid from the pulp. Centrifugal juicers spin the produce at high speeds, while masticating juicers use a grinding technique to yield more juice. The result is a smooth, pulp-free drink, offering a concentrated dose of vitamins and minerals.
Understanding these mechanisms helps clarify why some might prefer one device over the other and how a blender can be adapted for juicing purposes.
Key Differences Between Blenders and Juicers
The differences between blenders and juicers significantly affect texture, nutritional content, and user experience. Here are the key distinctions:
- Texture: Blenders retain the pulp, resulting in thicker beverages. Juicers remove the pulp, producing a smoother drink.
- Nutritional Content: Blenders provide all the fiber from the fruits and vegetables, aiding in digestion and prolonging satiety. Juicers extract mostly the water, vitamins, and phytonutrients, discarding the fiber.
- Preparation and Cleaning: Blenders generally require less preparation—you can add larger chunks of produce. Juicers may need more chopping and involve a more thorough cleaning process due to their complex parts.
- Volume Yield: Juicers often yield more liquid from the same amount of produce compared to blenders, making them more efficient for extracting the maximum juice.
Recognizing these differences helps set realistic expectations when using a blender for juicing.

Using a Blender as a Juicer
To use a blender as a juicer, follow these easy steps to get the best results:
- Choose Your Produce: Select fruits and vegetables that blend well, like apples, carrots, spinach, and berries.
- Preparation: Wash the produce thoroughly. Depending on your blender’s power, you might need to chop them into smaller pieces.
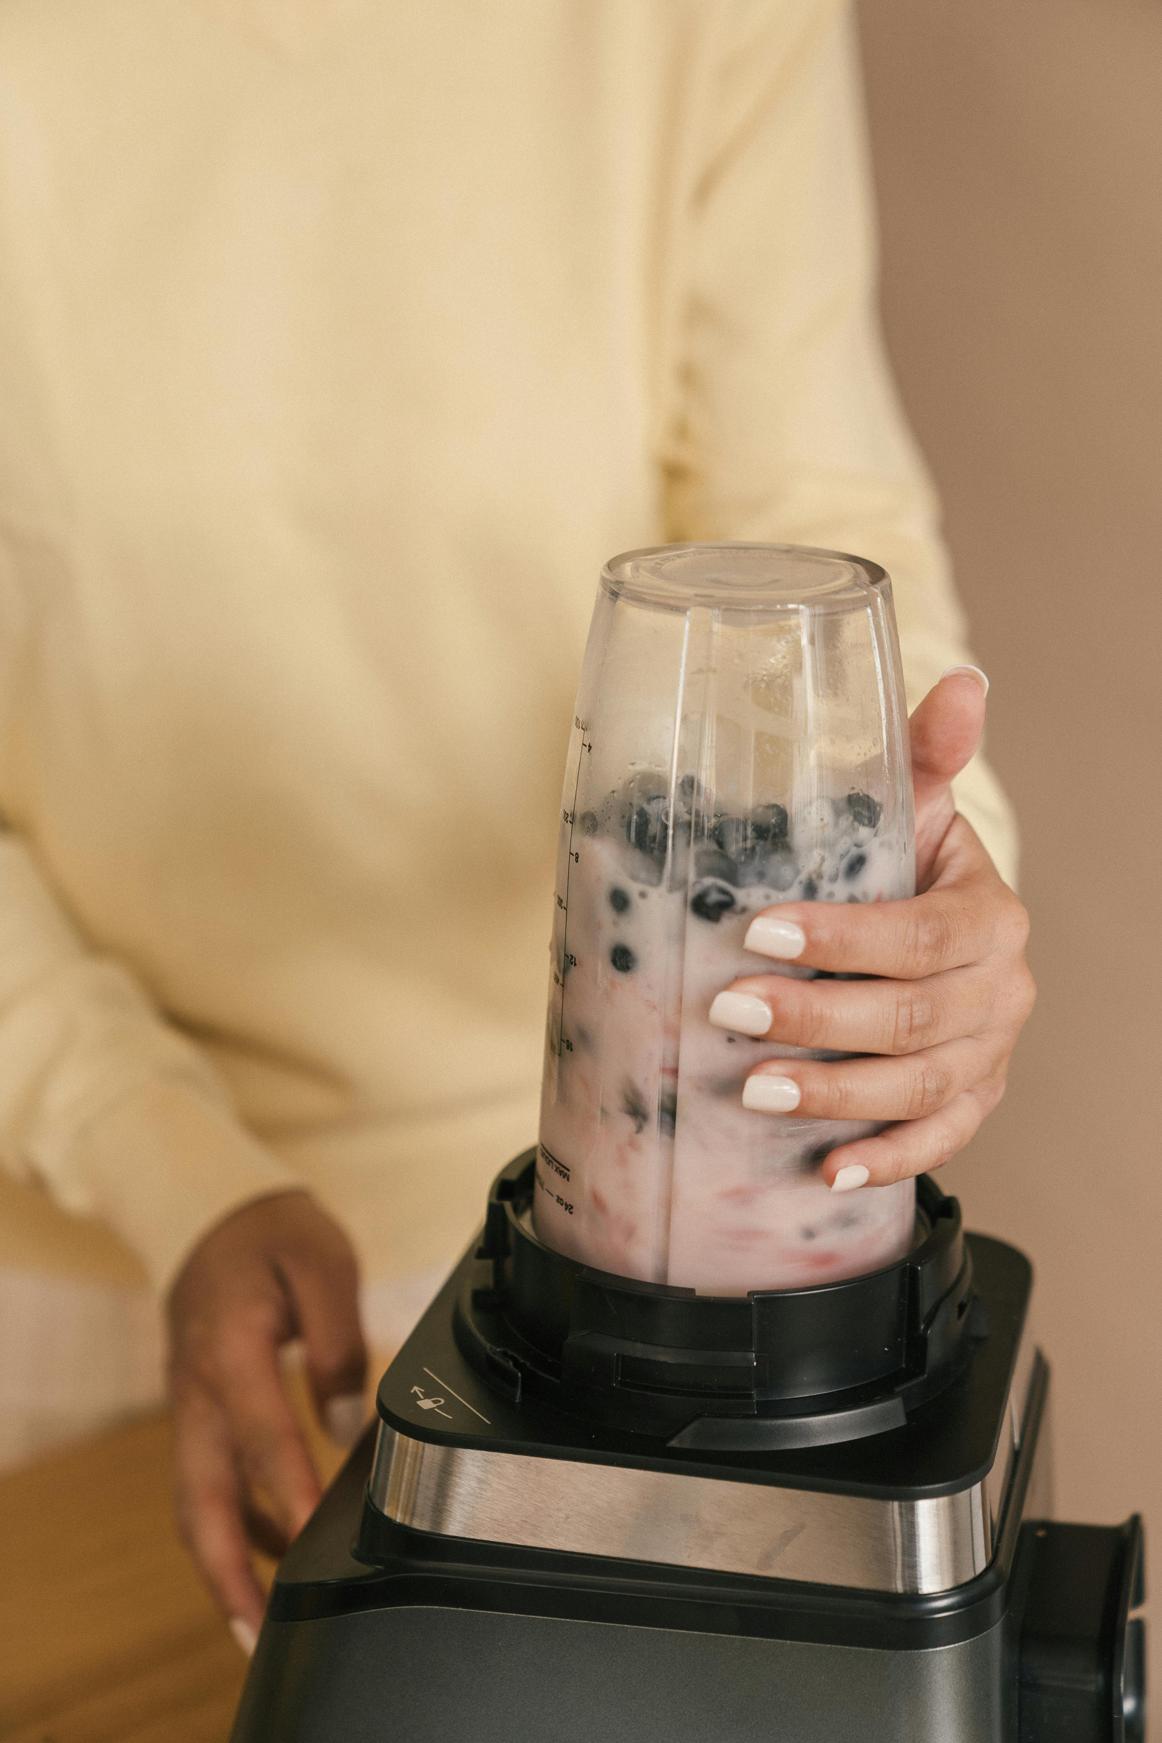
- Blending Process: Add the produce to the blender. You may need to add a small amount of water to ease the blending process. Blend until smooth.
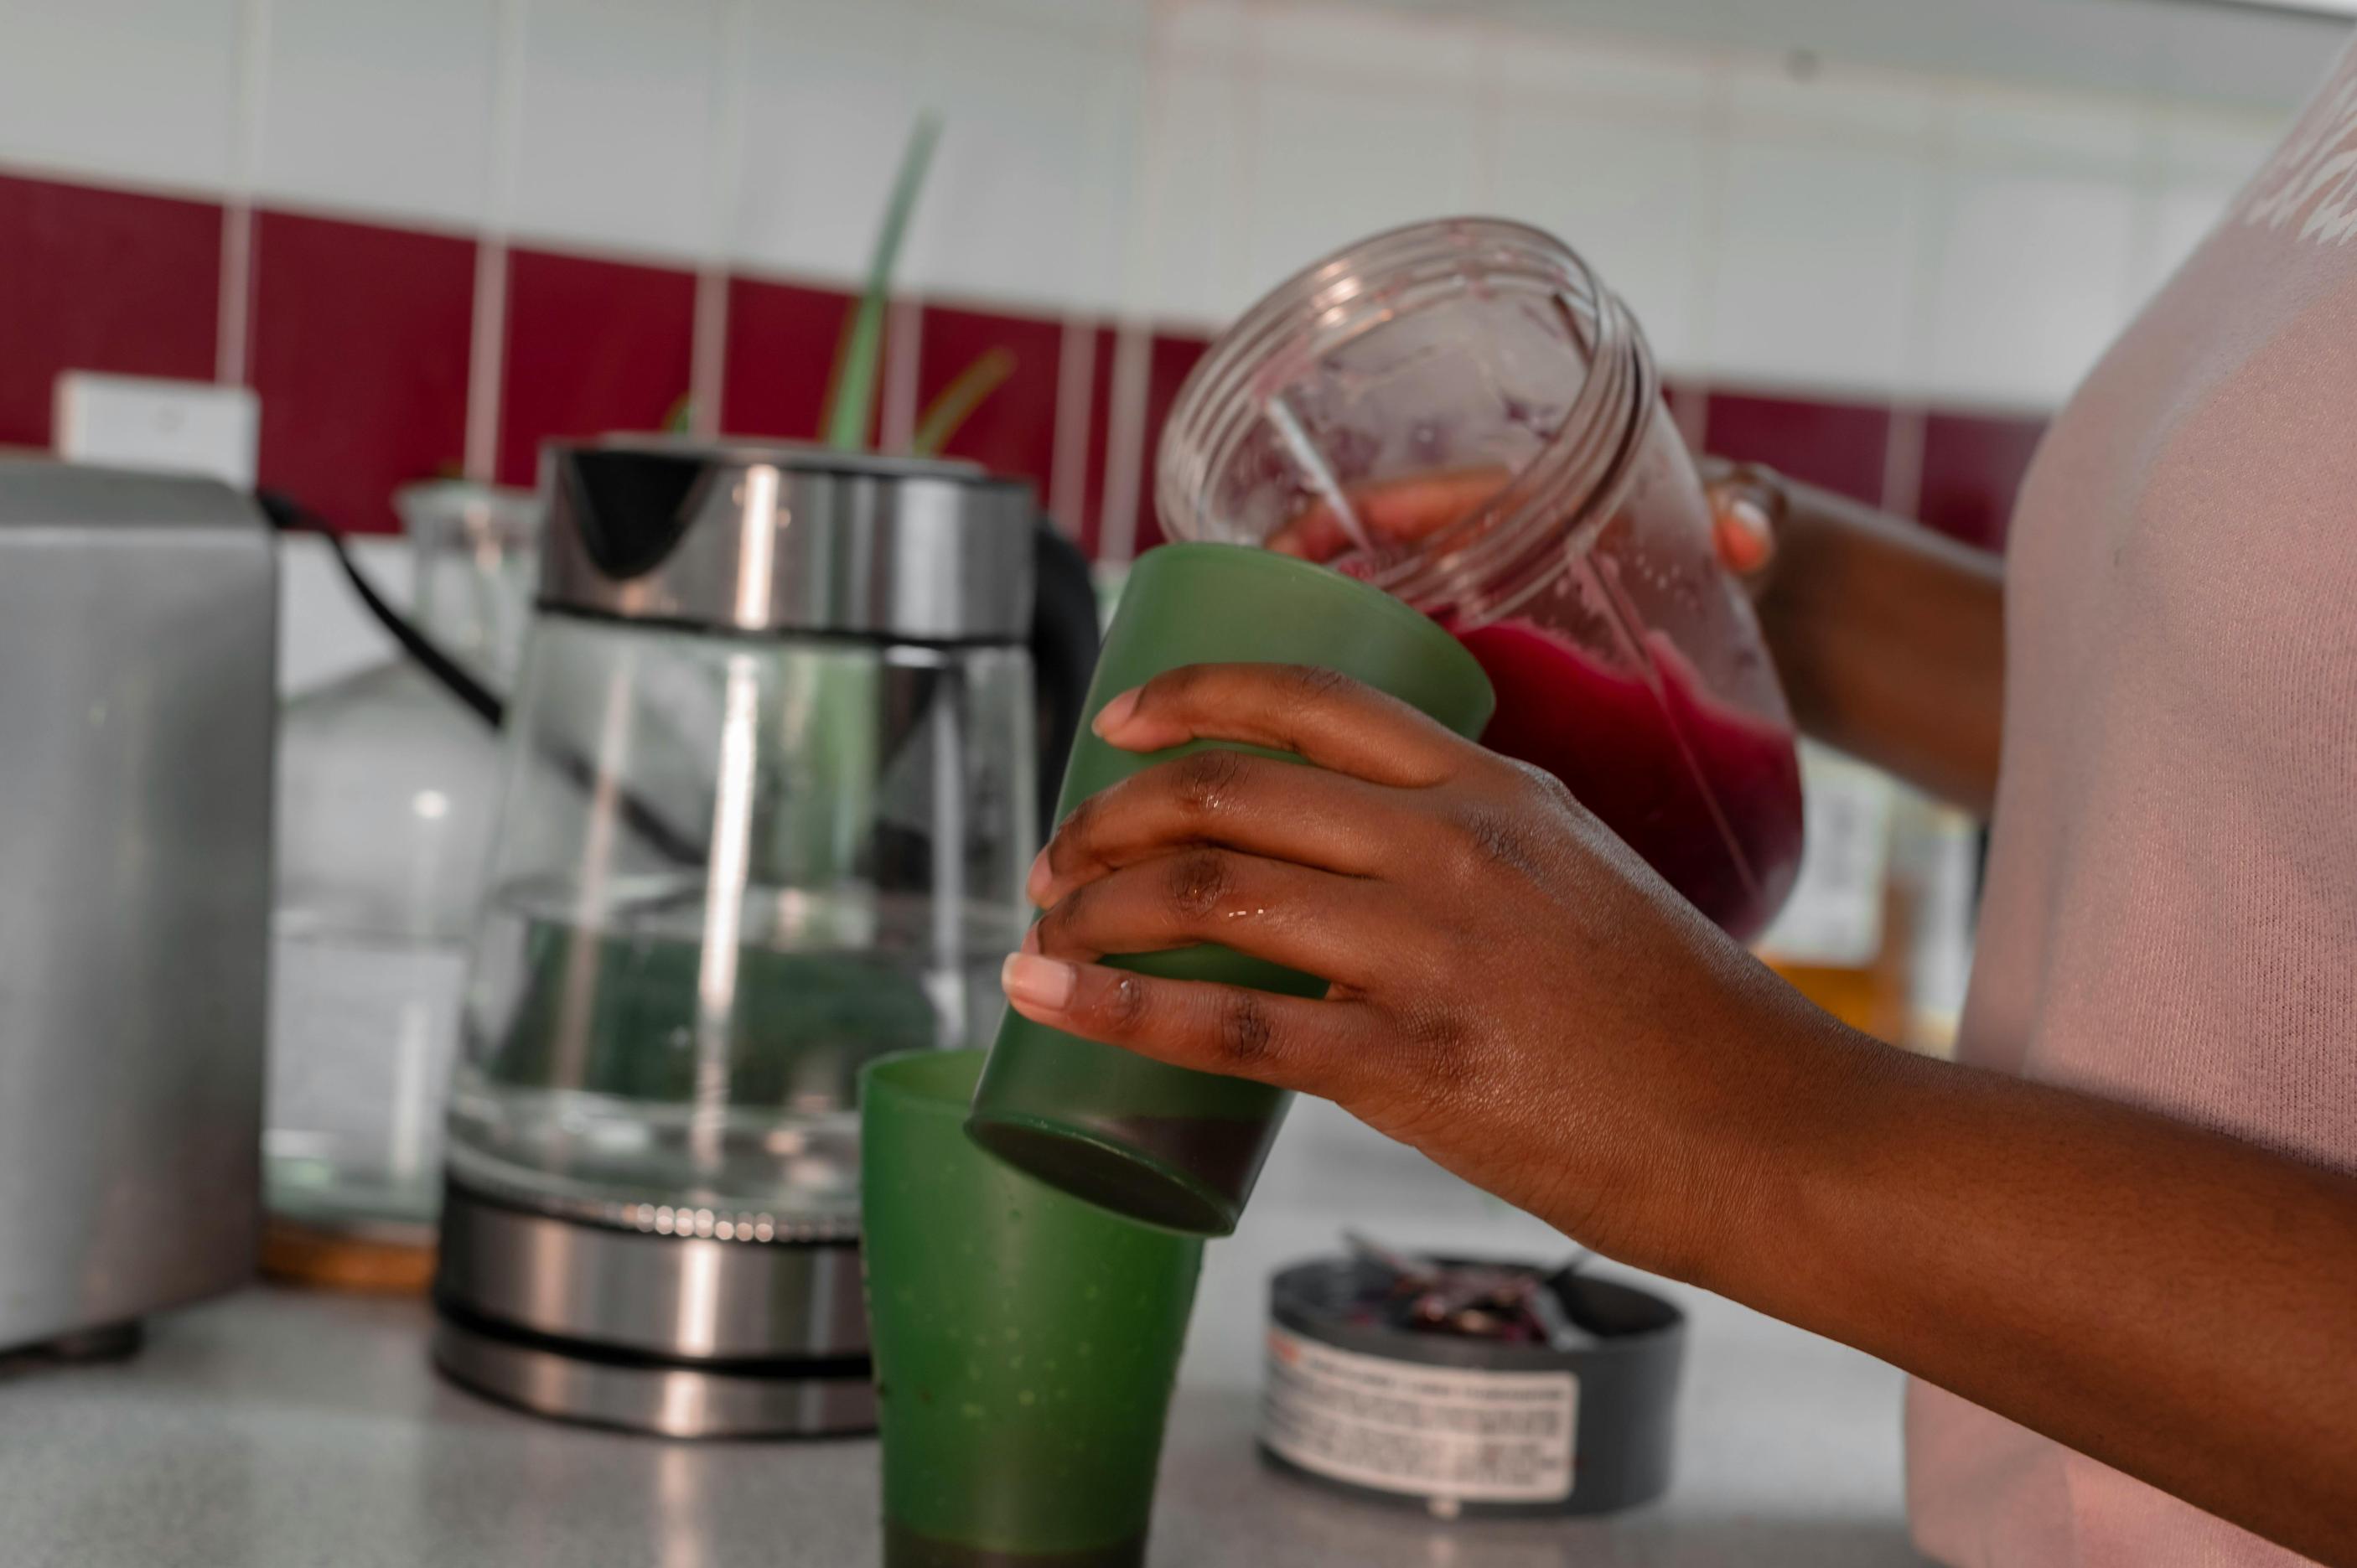
- Strain the Mixture: To mimic the juicing process, pour the blended mixture through a fine-mesh strainer, cheesecloth, or nut milk bag. Squeeze or press to extract as much liquid as possible.
- Collect the Juice: The strained liquid will be your juice, while the remaining pulp can be discarded or used in other recipes.
While this method won’t fully replicate the juicing experience, it offers a practical alternative using equipment you likely already own.

Advantages and Disadvantages
Using a blender as a juicer has its pros and cons:
Advantages
- Cost-Effective: Blenders are typically less expensive than juicers.
- Versatility: Blenders can handle a variety of tasks beyond juicing, such as blending soups, making smoothies, and even crushing ice.
- Easy Cleaning: Blenders generally have fewer parts and are easier to clean.
- Fiber Inclusion: If you decide not to strain the pulp, you benefit from the dietary fiber.
Disadvantages
- Texture: The resulting juice may still have some pulp, making it thicker than traditional juice.
- Time-Consuming: Straining the mixture can be time-consuming and messy.
- Yield: You might not get as much juice as you would from a dedicated juicer.
Weighing these advantages and disadvantages can help you decide if this approach suits your needs.
Tips for Effective Juicing with a Blender
To maximize your juicing efforts using a blender, consider these tips:
- Use High-Powered Blenders: Invest in a high-powered blender for a smoother blend and better extraction.
- Blend Soft Fruits First: Start with softer fruits to create a liquid base before adding harder vegetables.
- Add Water Sparingly: Use just enough water to help the blades turn but not too much to dilute the juice.
- Strain and Squeeze: Use a fine-mesh strainer, nut milk bag, or cheesecloth for the final step. Squeeze thoroughly to extract the most juice.
- Blend in Batches: If you’re making a large quantity, blend in smaller batches for better efficiency and smoother texture.
These tips ensure you get the most out of your produce and enjoy a consistent, delicious juice.
Conclusion
Using a blender as a juicer is not only possible but also quite effective. While there are distinct differences between blenders and juicers, knowing how to adapt your blender can provide you with nutritious, delicious juices without the need for a specialized juicer. With some preparation and the right techniques, you can enjoy the health benefits of juicing on a budget and with items you already have in your kitchen.
Frequently Asked Questions
Can I get the same nutritional benefits using a blender as I would with a juicer?
Not exactly. While you do get all the fiber and some nutrients with a blender, juicers provide a more concentrated dose of vitamins and minerals by removing the pulp.
What types of recipes are best for juicing with a blender?
Soft fruits like berries, apples, and spinach blend well. Additionally, soft vegetables like cucumbers and tomatoes mix well in a blender, creating smooth, delicious juices.
Do I need special accessories to use my blender as a juicer?
A fine-mesh strainer, nut milk bag, or cheesecloth can significantly help in the final straining stage, ensuring a smoother texture more akin to traditional juice.
